DIY Repair for Weedwacker-Damaged Irrigation Tubing
Learn practical tips to fix holes and cuts in irrigation tubing damaged by string trimmers, using couplers and clamps for a leak-proof seal.
Introduction
We've all been there: you're edging the lawn with your trusty string trimmer and, before you know it, it slices through your irrigation tubing. Suddenly, that quiet spring morning becomes a mini water feature in your garden. It's a common headache for homeowners who keep their tubing above ground or in shallow trenches, especially when late-season weeds push tubing closer to the surface.
In this guide, I'll walk you through straightforward, do-it-yourself methods to restore flexibility and keep water flowing--minus the leaks. You'll learn how to identify various types of damage, choose the right couplers and fittings, prep and seal the repair, and even prevent future mishaps. No fancy tools or professional plumbers required: just a few parts, a sharp cutter, and some elbow grease. By the time you're done, your irrigation line will be back in action, and you'll wonder why you ever worried about that little strip of plastic.
Problem Identification
String trimmers, or weedwackers, are notorious for catching exposed tubing. The most common damage ranges from small punctures and shallow gashes to partial or even total severing when a spinning cord catches that garden hose or drip line. Even a tiny hole under pressure can spray water everywhere, wasting resources and creating muddy messes. Left unchecked, weak spots become bigger leaks, undermining the efficiency of your irrigation system and potentially rotting nearby plants.
Understanding exactly what you're facing--whether it's a pinhole or a sliced-through section--shapes the repair. The good news? Flexible polyethylene (PE), vinyl, and rubber tubing all respond well to coupler-based fixes that restore both strength and a watertight seal.
Causes and Contributing Factors
Exposed tubing is an open invitation for string trimmers. Tubing buried only an inch or two below the surface can pop up as soil shifts or compaction occurs. Running lines too close to lawn edges or walkways also puts them in the danger zone when trimming grass and weeds. UV exposure can make above-ground tubing brittle, so by the time your trimmer meets it, the plastic snaps more easily.
Regular inspections--especially after mowing--help you spot vulnerable sections before they fail. Mark lines with stakes or paint so you know exactly where to steer clear of during maintenance.
Ready to transform your lawn?
Get personalized AI guidance for the perfect lawn. Download Grassmaster Gus now!
Solutions and Treatments
No matter the size of the cut, the core principle is the same: cut back to clean tubing, then rejoin using the correct fitting. The trick lies in matching the coupler type to your tube's diameter and material.
Small Cuts or Holes (<2 inches)
Cut It Out Cleanly: Use a tubing cutter or sharp scissors to remove the damaged segment. Aim for square, even ends for the best seal.
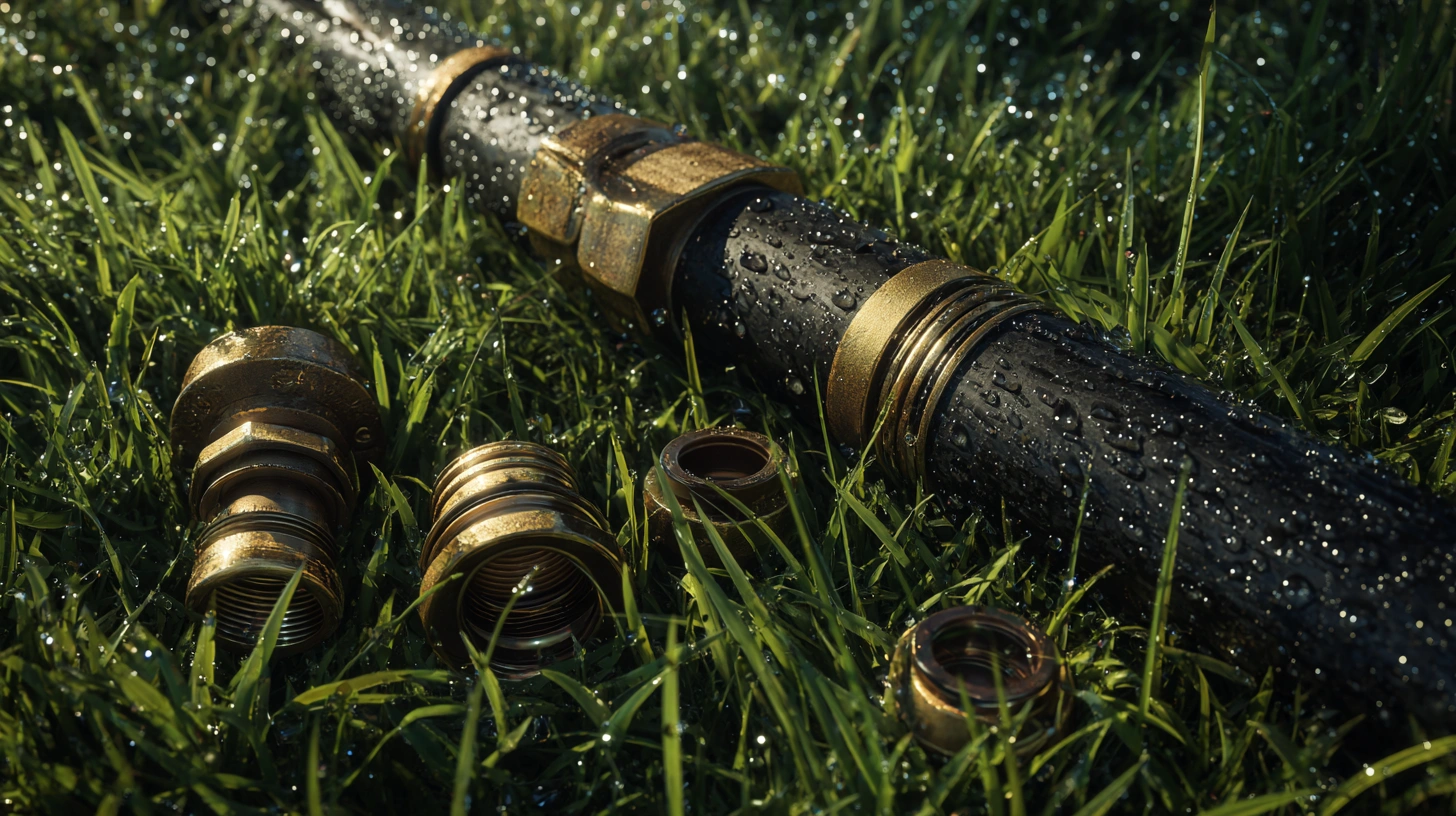
Choose Your Coupler:
Barbed Coupler: A simple push-fit with ridges that grip inside the tubing. Great for low- to medium-pressure lines. Slide the tubing fully onto the barb, and secure each end with a stainless-steel hose clamp.
Compression Coupler: These have built-in O-rings and tightening collars. Slip your tubing in and twist the collar until it locks down. No clamps needed.
Perma-Loc (Nut-and-Barb) Fitting: A hybrid approach--slip the tubing over a barb, then secure with a threaded nut for extra hold. Often favored in drip irrigation setups.
Test the Seal: Turn the system on at low pressure to check for drips. Tighten clamps or nuts if you see any moisture.
Larger Damaged Sections (>2 inches)
Measure and Cut a Patch Piece: Cut a replacement length of tubing that matches the diameter and wall thickness of your original line. Most hardware stores carry standard sizes.
Install Two Couplers: Attach one coupler to each end of the existing tubing, then join them with the patch piece in the middle. Follow the same push-fit and clamp or compression instructions above.
Flush and Inspect: Once everything's tightened, run water through at normal pressure to clear any debris and confirm a leak-free join.
Preparation and Sealing Steps
Good prep work separates a lasting fix from a temporary band-aid. Before you install any fitting:
Drain and Dry: Shut off the valve, open a downstream faucet or sprinkler to relieve pressure, and let any residual water drain out. Dry the tube ends with a rag.
Deburr and Square: Ensure the cut edges are free of jagged plastic bits. A clean, square cut seats better on barbs and compression rings.
Warm Stiff Tubing: In cooler weather, tubing can stiffen and resist fittings. A quick blast with a heat gun (on low) or a soak in hot water softens the ends for an easier, tighter fit.
With everything clean and flexible, push tubing ends all the way onto the fitting until they hit the stop. You want at least 1/2" of overlap past the barb--any less, and you risk a leak.
Prevention Tips
Why repeat this fix later? A little proactive work can keep trimmers and tubing from crossing paths:
Bury Lines Deeper: Whenever possible, tuck irrigation tubes at least 4-6 inches below the sod line. You'll avoid most accidental encounters when edging.
Use Protective Conduit: Above-ground sections can ride inside PVC or split-loom conduit. It's cheap insurance against future snags.
Mark Your Routes: Paint bright lines or stake flags along irrigation runs. When you see markers, you know to lift your foot off the gas (or trigger).
UV Protection: In sunny regions, wrap tubing in UV-resistant tape or spray on a protective coating to delay brittleness and cracking.
Timing and Weather Considerations
Pick a dry, mild day for repairs. Dry tubing grips fittings better, and you'll avoid muddy work areas. In freezing temperatures, plastics can become rigid and crack--hold off until things warm up above 40 degreesF. Conversely, extreme heat can soften tubing too much, making it prone to bulging or slips. Aim for ambient temps between 50-85 degreesF for ideal flexibility and seal integrity.
Safety Things to Remember
Depressurize First: Always shut off water and drain lines before cutting.
Use Manufacturer-Recommended Fittings: Especially on high-pressure systems, aftermarket mismatches can fail unexpectedly.
Secure Clamps Properly: Overtightening stainless clamps can slice into thin-walled tubing; under-tightening invites leaks. Snug 'em down until the tubing compresses evenly around the barb.
Keep Tools Handy: A sharp tubing cutter, hose clamp driver, and a small heat gun are all you need. Dull blades or incorrect tools slow you down and risk ragged cuts.
Conclusion
Fixing weedwacker-damaged tubing doesn't require a service call. With the right couplers--barbed, compression, or Perma-Loc--you can cut back to clean plastic and restore a solid, leak-free seal in minutes. Proper prep (drain, dry, square-cut) and a couple of clamps or twist collars will keep your system running like new. And by burying lines a bit deeper or slipping them into simple conduit, you'll dodge future mishaps.
Next time your trimmer and tubing collide, you'll flip off the valve, slice out the bad section, slip on a fitting, and get back to mowing--no muddy surprises, no wasted water, and definitely no soggy shoes.
Transform Your Lawn with AI-Powered Care
Join thousands of homeowners achieving their dream lawn with personalized guidance from Grassmaster Gus.
- AI-powered lawn analysis
- Personalized care schedules
- Expert advice 24/7
- Track lawn progress

Related Articles
New St. Augustine Sod Watering Schedule for Central FL
Learn the step-by-step schedule to water new St. Augustine sod in Central Florida, keep it moist, avoid overwatering, and stay rule-compliant.
Bermudagrass Removal in Northern Virginia Lawns
Discover proven strategies, full renovation or selective management, to reclaim your Northern Virginia lawn from invading Bermudagrass and reseed with tall fescue.
Troubleshooting Stunted Tall Fescue Growth in Sunny Spots
Discover why your tall fescue stays short in full sun and practical fixes for Zone 5a lawns, from watering tweaks to soil health checks.
Responsible Pesticide Use for Southern Warm-Season Lawns
Learn how to diagnose lawn issues and apply pesticides responsibly in Southern warm-season lawns using IPM to protect beneficials and avoid resistance.